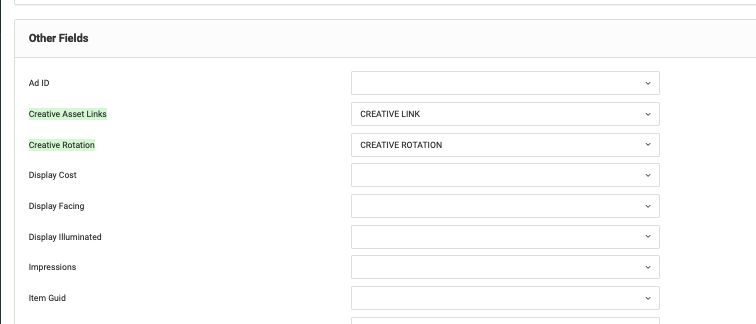
To Assign a creative using Creative Links, please follow the steps below:
1. Before importing a campaign, add a creative link column. In this column, add all of the URL links that connect to the creative image(s). These links can connect to any image, drive, or zip file that can be accessed from a browser.
- if you do not have the creative links at the time you import the campaign, feel free to follow the campaign upload process as usual. Come back later and click 'Update' existing campaign and map the creative link column.
2. When you open the campaign, all of the displays with creative links will have a wrench icon to represent the creative. If users click on the creative image icon, the link to the creatives will show, allowing users to open the url in another tab/browser.
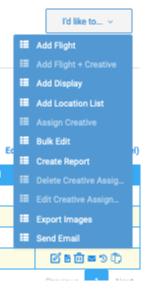
- Creatives can only be assigned through one method for each campaign. If you decide to use the Creative Links method, all of the other Assign Creative features will de deactivated from the I'd Like To drop down menu (Add Flight + Creative, Assign Creative, Delete Creative Assignment, and Edit Creative Assignment)
3. When you're ready to issue PIs, click the Posting Instructions tab. The Creative Assets column will show all of the links you imported.
The instructions will now have each unique link listed with the URL to open the link in another tab/browser. In both the PDF and Excel documents, vendors can view the display details and access the creative links for each individual unit.


