1. Filtering Data:
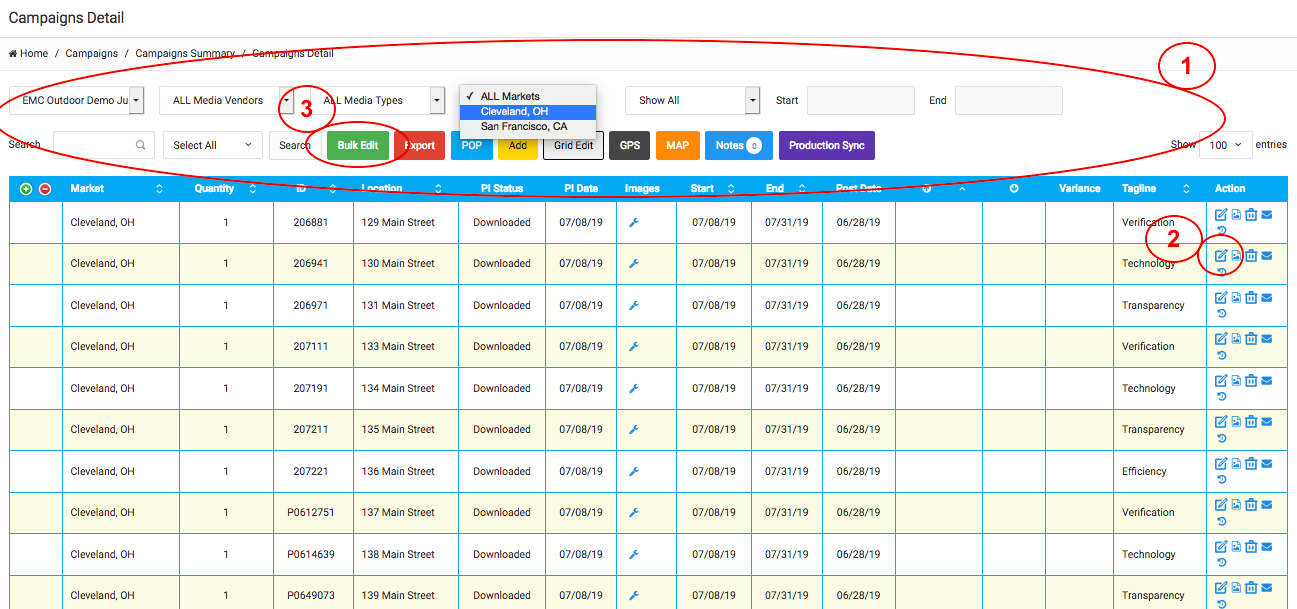
You can refine the view of data within a campaign using the Filters at the top of the campaign detail screen. Simply click on the category you would like to filter and select the value to use.
Please note, filters cascade from left to right. This means setting any filter will result in resetting all subsequent filters to the right to their default settings.
You may also use the Search field to locate units with a value; This search field also has a sub-filter which will find this value on a specific header in the table shown.
2. Display Editing:
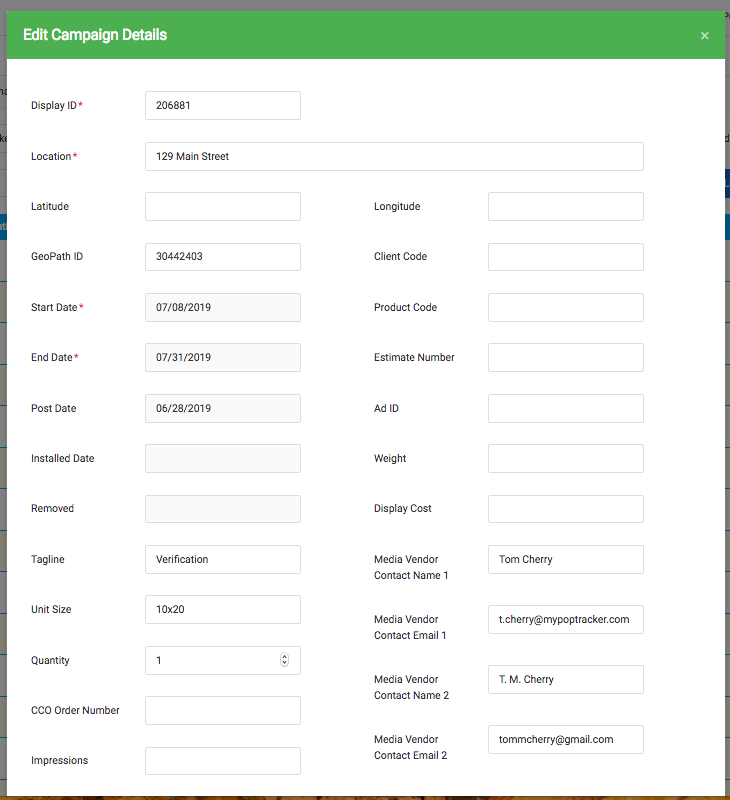
To make an edit to an individual line item, click on the Edit Display (notepad and pencil) icon under the Actions column which correlates with the display you are editing. Make any edits to the available fields in the pop-up and click Save at the bottom of the screen.
3. Bulk Editing:
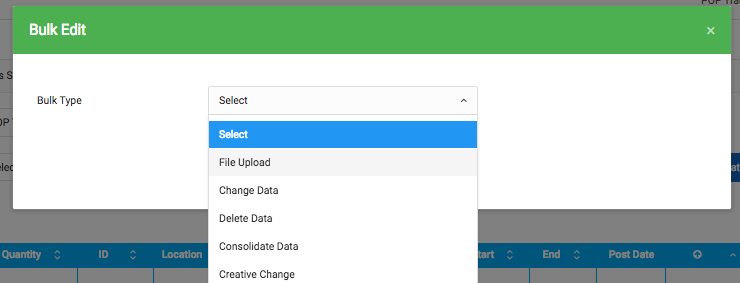
This feature has multiple functions which can speed up the process of editing multiple units with the same edits. Simply click Bulk Edit (green button at the top of the screen) and the pop-up will appear.
HOW TO USE BULK EDIT: Make changes to various units in just 4 steps: 1st.: select the function, 2nd.: select the field, 3rd.: select the units, and 4th.: GO!
This function allows you to 1. Change Data, 2. File Upload, and 3. Delete Data.
1. Change Data - you can change any field data to multiple units at a time. Ex. Changing Creative Taglines from "TBD" to "This is POP Tracker".
2. File Upload - you can upload multiple images to multiple units of a selected media type. Ex. uploading creative images to multiple units.
3. Delete Data - you can delete multiple units. - please be cautious of this, as units will be permanently deleted from the campaign. IF a unit is canceled, please use our Canceled field (use bulk edit or edit display) to keep data in POPTracker but this will prevent the unit from appearing incomplete/not posted and will not appear to vendors.
4. Click "GO"
POP Tracker Support - support@mypoptracker.com
