Campaign Upload Rules
Prior to importing the campaign, check your spreadsheet for the following:
- Multiple Tabs / Sheets. Check for multiple tabs in the spreadsheet - only one tab can be imported. This won't cause the import to fail, but the system will only import the data on the first tab/sheet.
- Check the Headings. Check the headers in your campaign spreadsheet to meet the POP Tracker requirements.
- Requirements are: Campaign, Market, Media Vendor, Media Type, Display ID, Display Location, Start Date, End Date, and Size.
- Identical Campaign Name. The Campaign Import will accept only one campaign name. If you have more than one name an error message will appear. Multiple campaigns must be split into separate spreadsheets.
- Missing Data. Make sure none of the required columns listed in Rule 1 are missing data.
- Display IDs - If there is a missing display id or if a display id is listed as "N/A", the system will auto-generate a unique id for that unit. If there is a duplicate display id, the import will only use the data for the first instance, and eliminate the data for the other(s). The fix is to leave blank or create a unique ID for each display (just a number is fine 1,2,3,4 etc) and then try importing.
- Extra Blank Row/Columns. Make sure there are no rows above the heading row, or extra columns before the first column of valid data. Also, make sure there are no empty rows within the data.
- Remove Foreign Character in cells. It may be hard to spot, but if you have cells with formulas or uncommon symbols e.g. ~ ; / } in any cell, the import may fail.
- Best file formats are ".xls" and ".xlsx".
If the campaign import does not work as expected, the platform will often explain the reason why the import failed. Alternatively, please email your spreadsheet to support@mypoptracker.com and we will review.
Importing Campaigns
A central component of gathering POP is matching data against a campaign. Importing campaigns is easy and the following instructions will walk you though the steps.
1. Navigate to the correct Client Account on the top right drop down. Select Campaign tab from the left navigation menu. Click "+ Add / Update Campaign"
2. Press the blue 'Browse' button to select the spreadsheet of data to import from your drive. Then press the blue up arrow to being the import.
3. Match the data from your spreadsheet to the Database Field in POP Tracker. Your spreadsheet does NOT have to list the columns in the same order as POP Tracker. If you use the same label names in your column headers, the import will auto-match the fields. If fields are not matched automatically, you can select a match from the drop-down list. Lastly, if you have additional columns in your spreadsheet that do not match, they will be ignored during the import so you do not have to delete those columns.
4. Next you will be asked to match Media Vendor, Media Type and Market to existing options from the POP Tracker database. The screen will show all entries from your spreadsheet where data did not automatically match and you are required to make a selection. Unmatched data is highlighted by red text. Start typing in the box under the red text to show available matches. Once you make a selection, the software will then attempt to match all instances of the same data relationship.
In the example below, if you update Peoria/Bloomington, IL to Peoria-Bloomington, IL then all other instances of Peoria/Bloomington, IL will also update.
5. When all data matches, your screen will show 'Unmatched' as 0 of 0 entries. Press the blue 'Process' button.
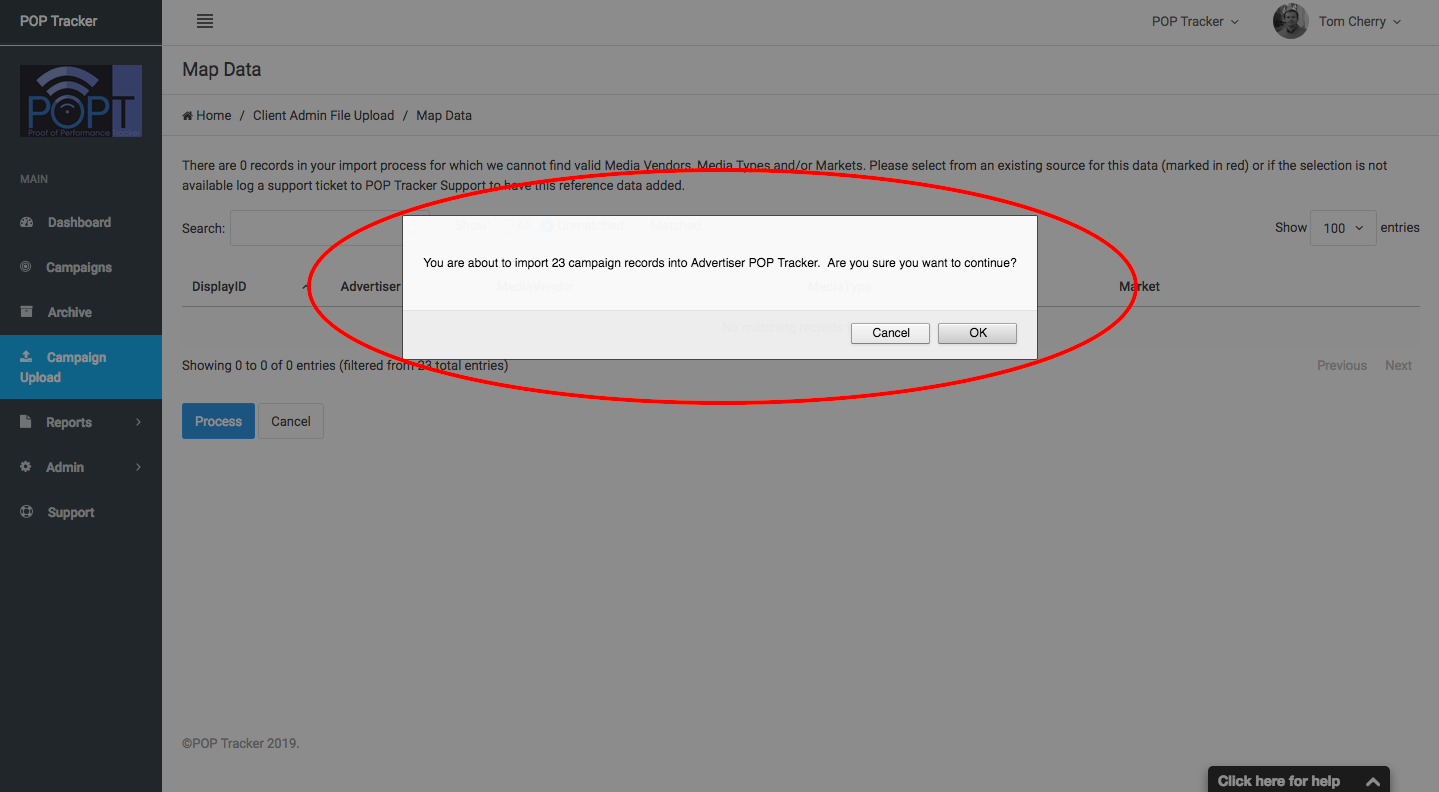
6. There is a final confirmation of the number of records being imported and the Client account. Press OK to continue.


