Adding a Location List
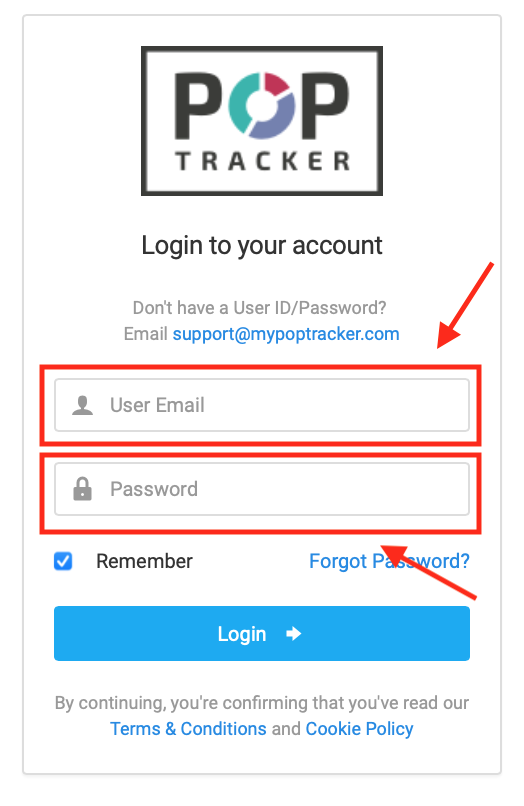
1) Login to POP Tracker using your personalized credentials.
2) The screen you see when you log in is the dashboard of all the clients and campaigns listed in alphabetical order. Find the client and campaign you would like to add the location list to and select it.
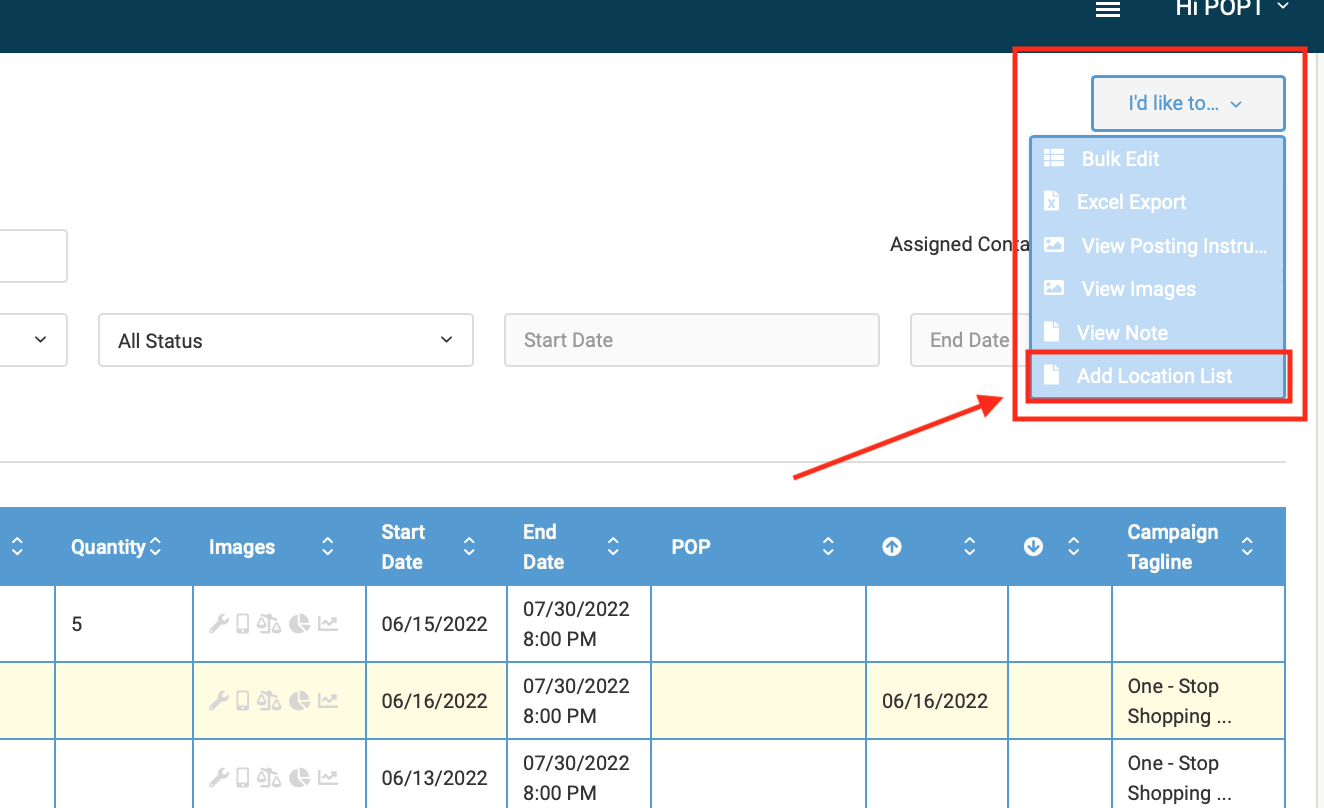
3) Once you’re inside the campaign you wish to add the location list too, in the upper right-hand corner is a dropdown menu that says “I’d like to…” For this guide, you’ll want to find the option that says “Add Location List” and select it.
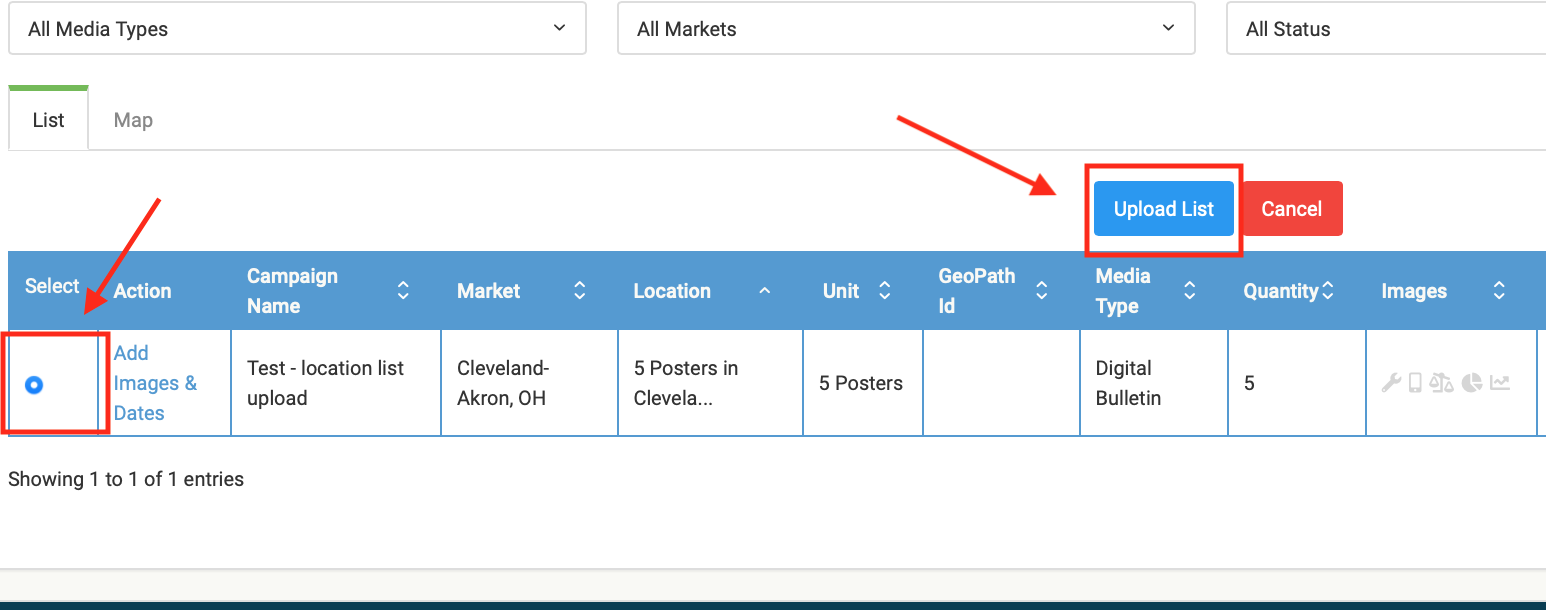
4) Select the campaign(s) and hit the “Upload List” button at the top.
5) The next screen will be where you upload your location list. Select the Blue “Browse” button and select the Excel file you wish to import. Once it is in POP Tracker, select the blue upload icon on the file.
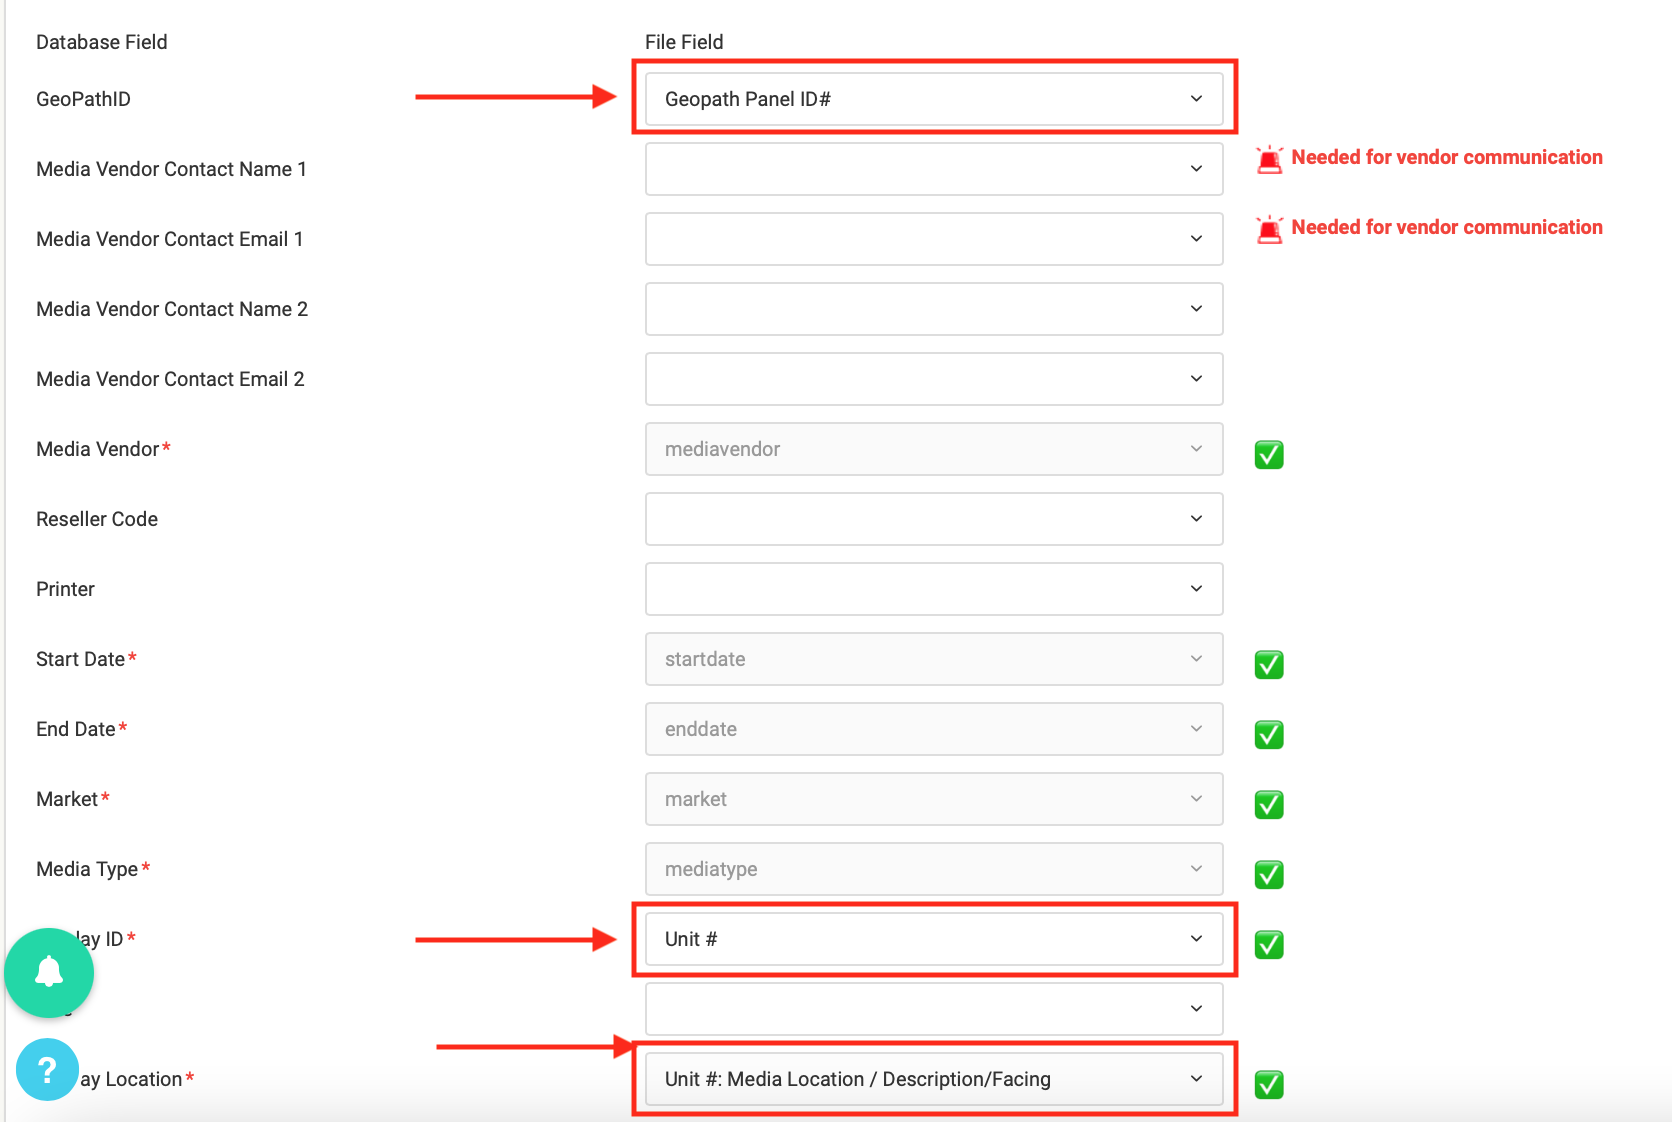
6) Once the list is uploaded into POP Tracker, you may need to do some manual mapping so it can import correctly. Please note that even though only Display ID and Location are required fields, you will need to map additional fields, especially the GeoPath ID. Once all the fields are mapped, hit the green import button on the bottom left-hand side of the page.
7) Once the list has been imported, you’re good to go!


