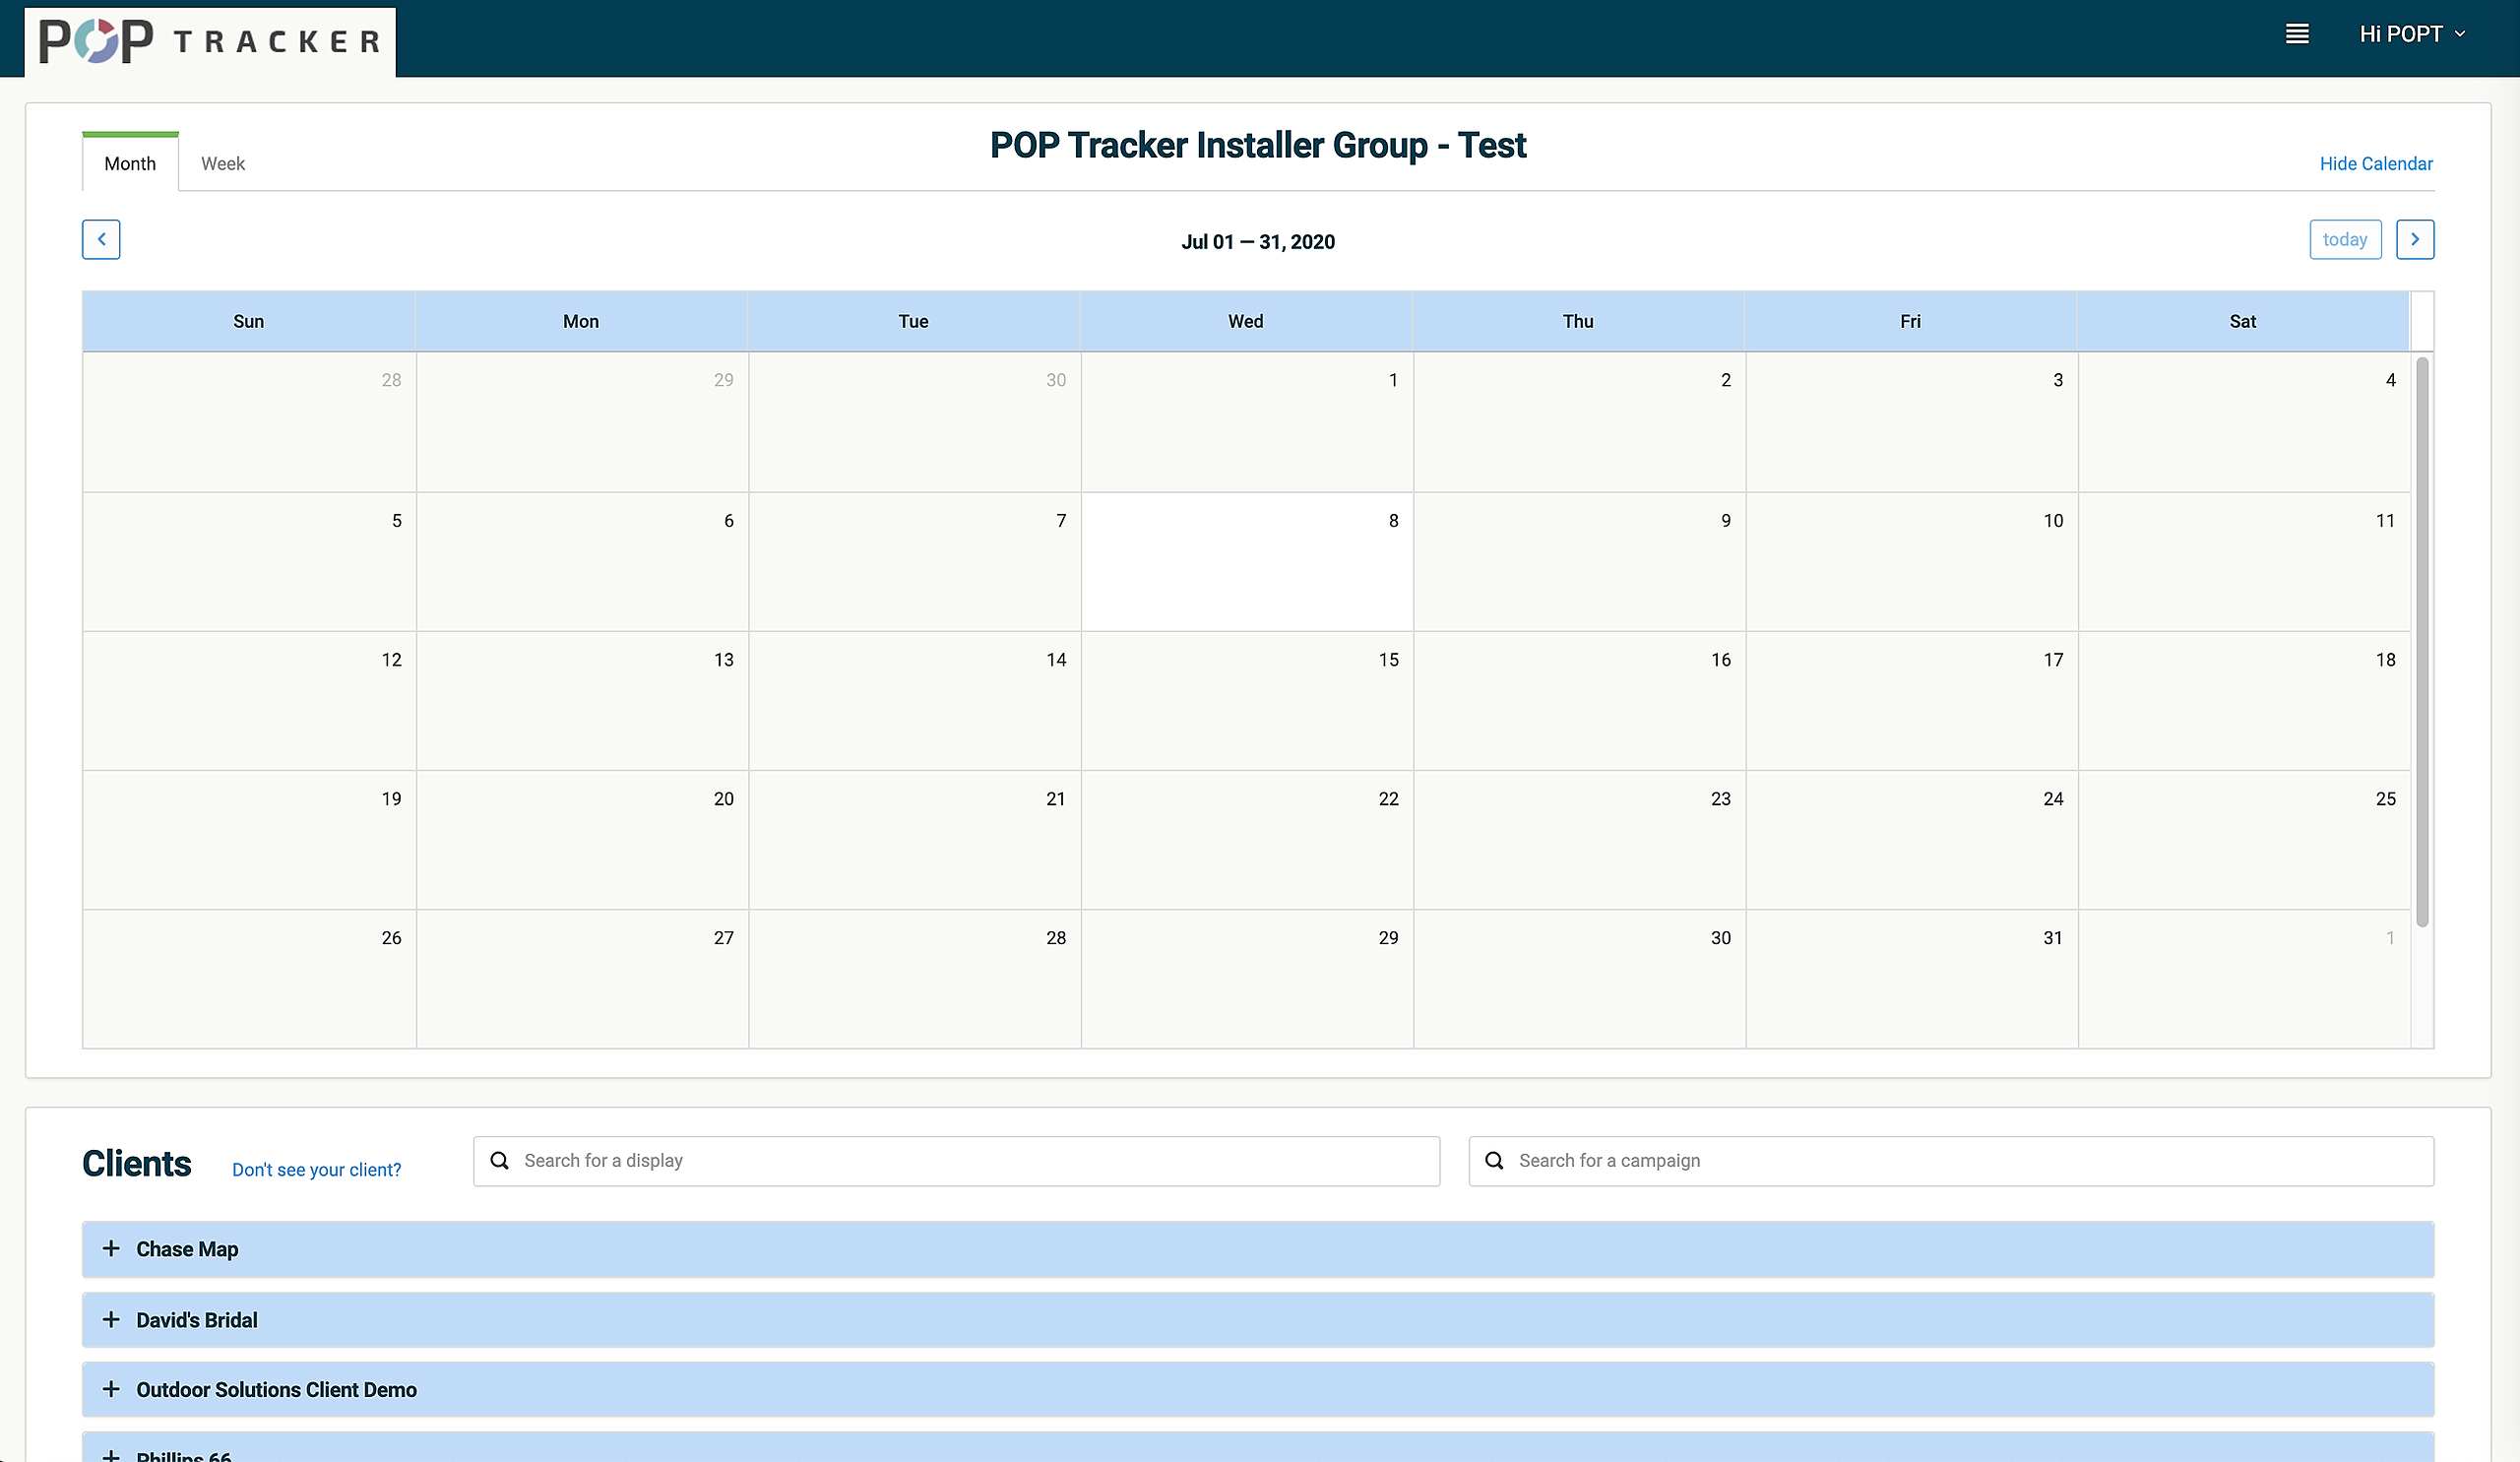
The POP Tracker website is used by Media Vendors to upload data to the system. Below are a few items to remember when using the system.
- Your web browser does make a difference! Google Chrome works the best. Still having an issue, try clearing your browsing data and making sure you are on the latest update for Google Chrome.
-
The Vendor Install Date can be edited (members only), the POP Install Date cannot! When you upload an image, the POP Install Date is created for the date you upload your image. The Vendor Install Date can be changed (members only) in the popup window when uploading images. Take down dates can also be created/edited in the same popup window.
IMAGE UPLOAD
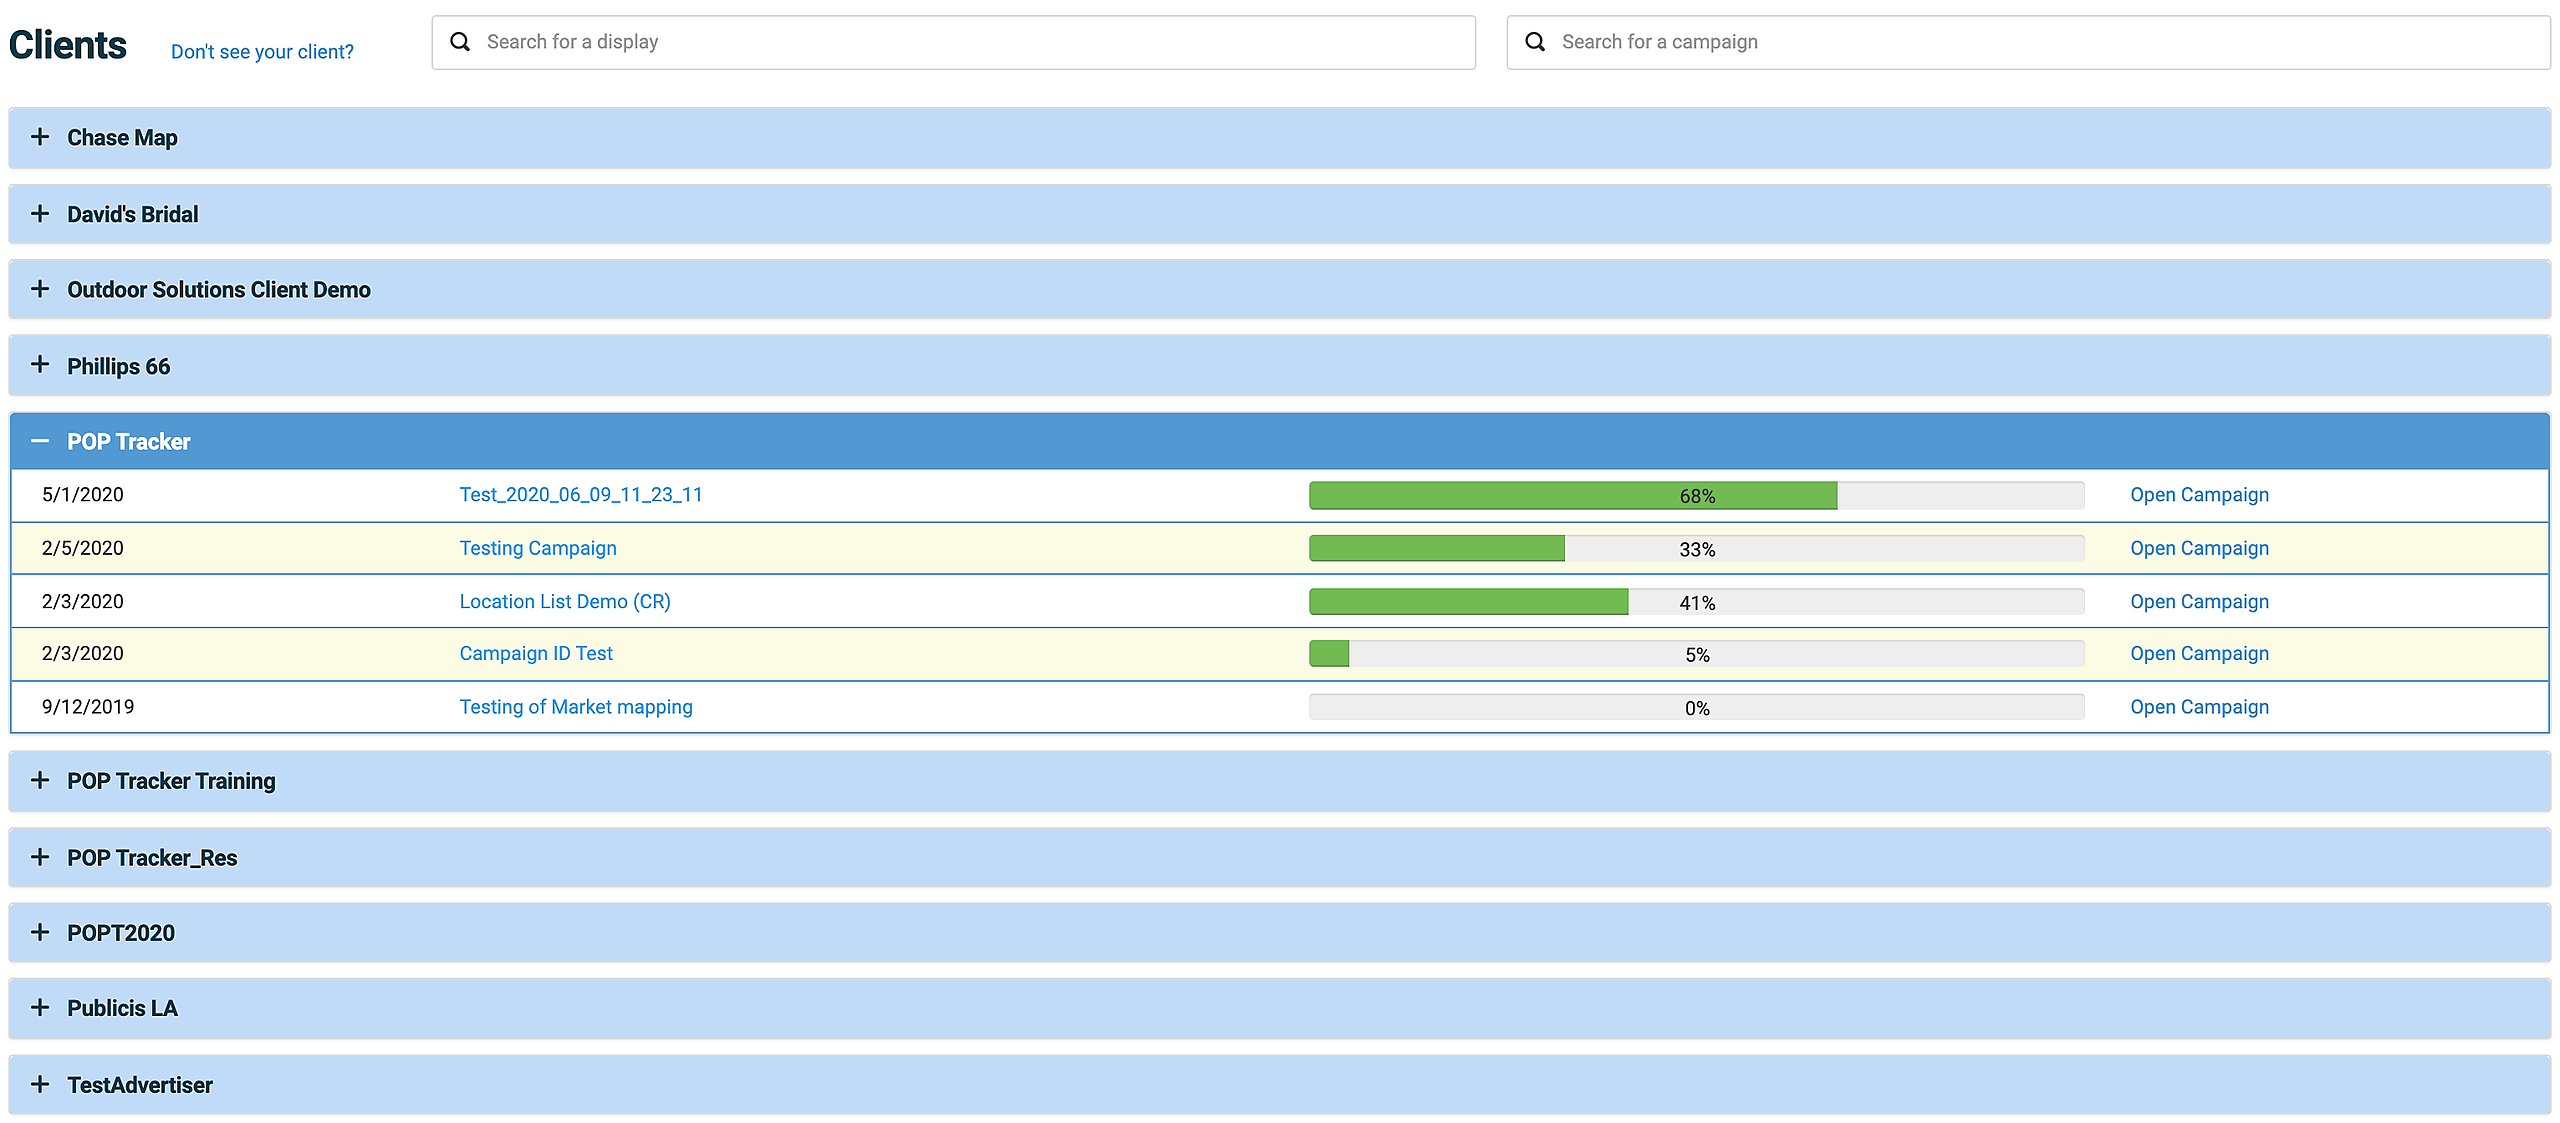
1. Under Clients, find the client you are uploading for and click on the + sign.
2. The system will show you all current Campaigns you are associated with for that Client. Click on the Campaign Name or Open Campaign to see your units.
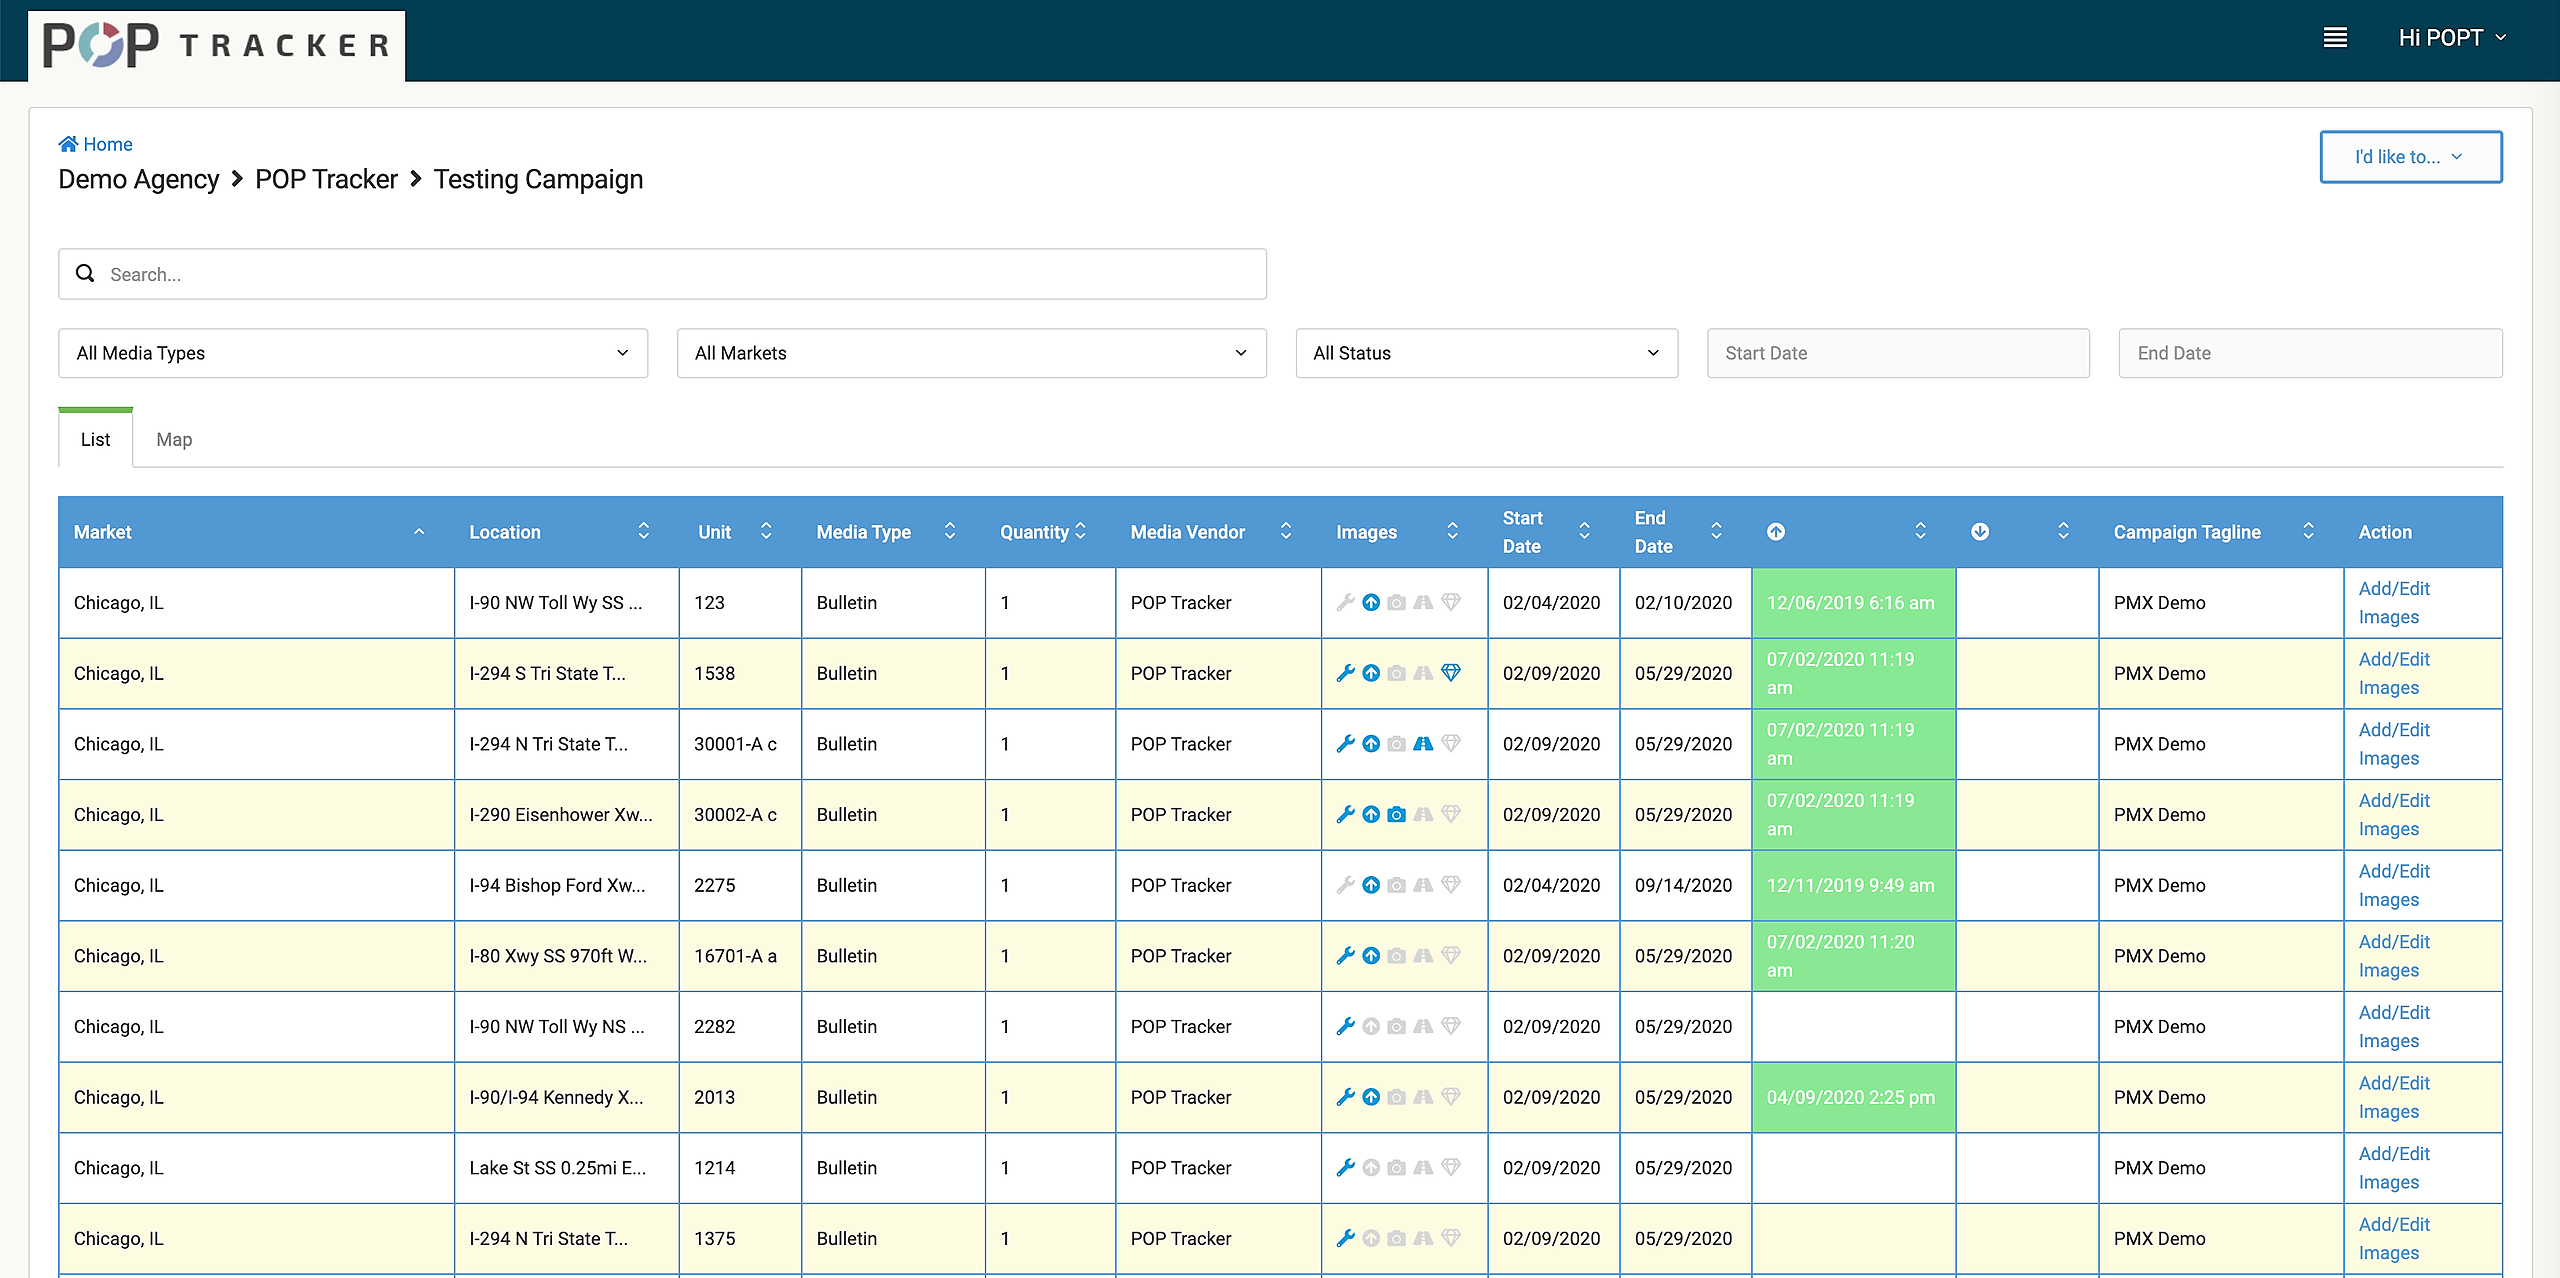
3. To install images, click on Add/Edit Images in the last column for a unit.
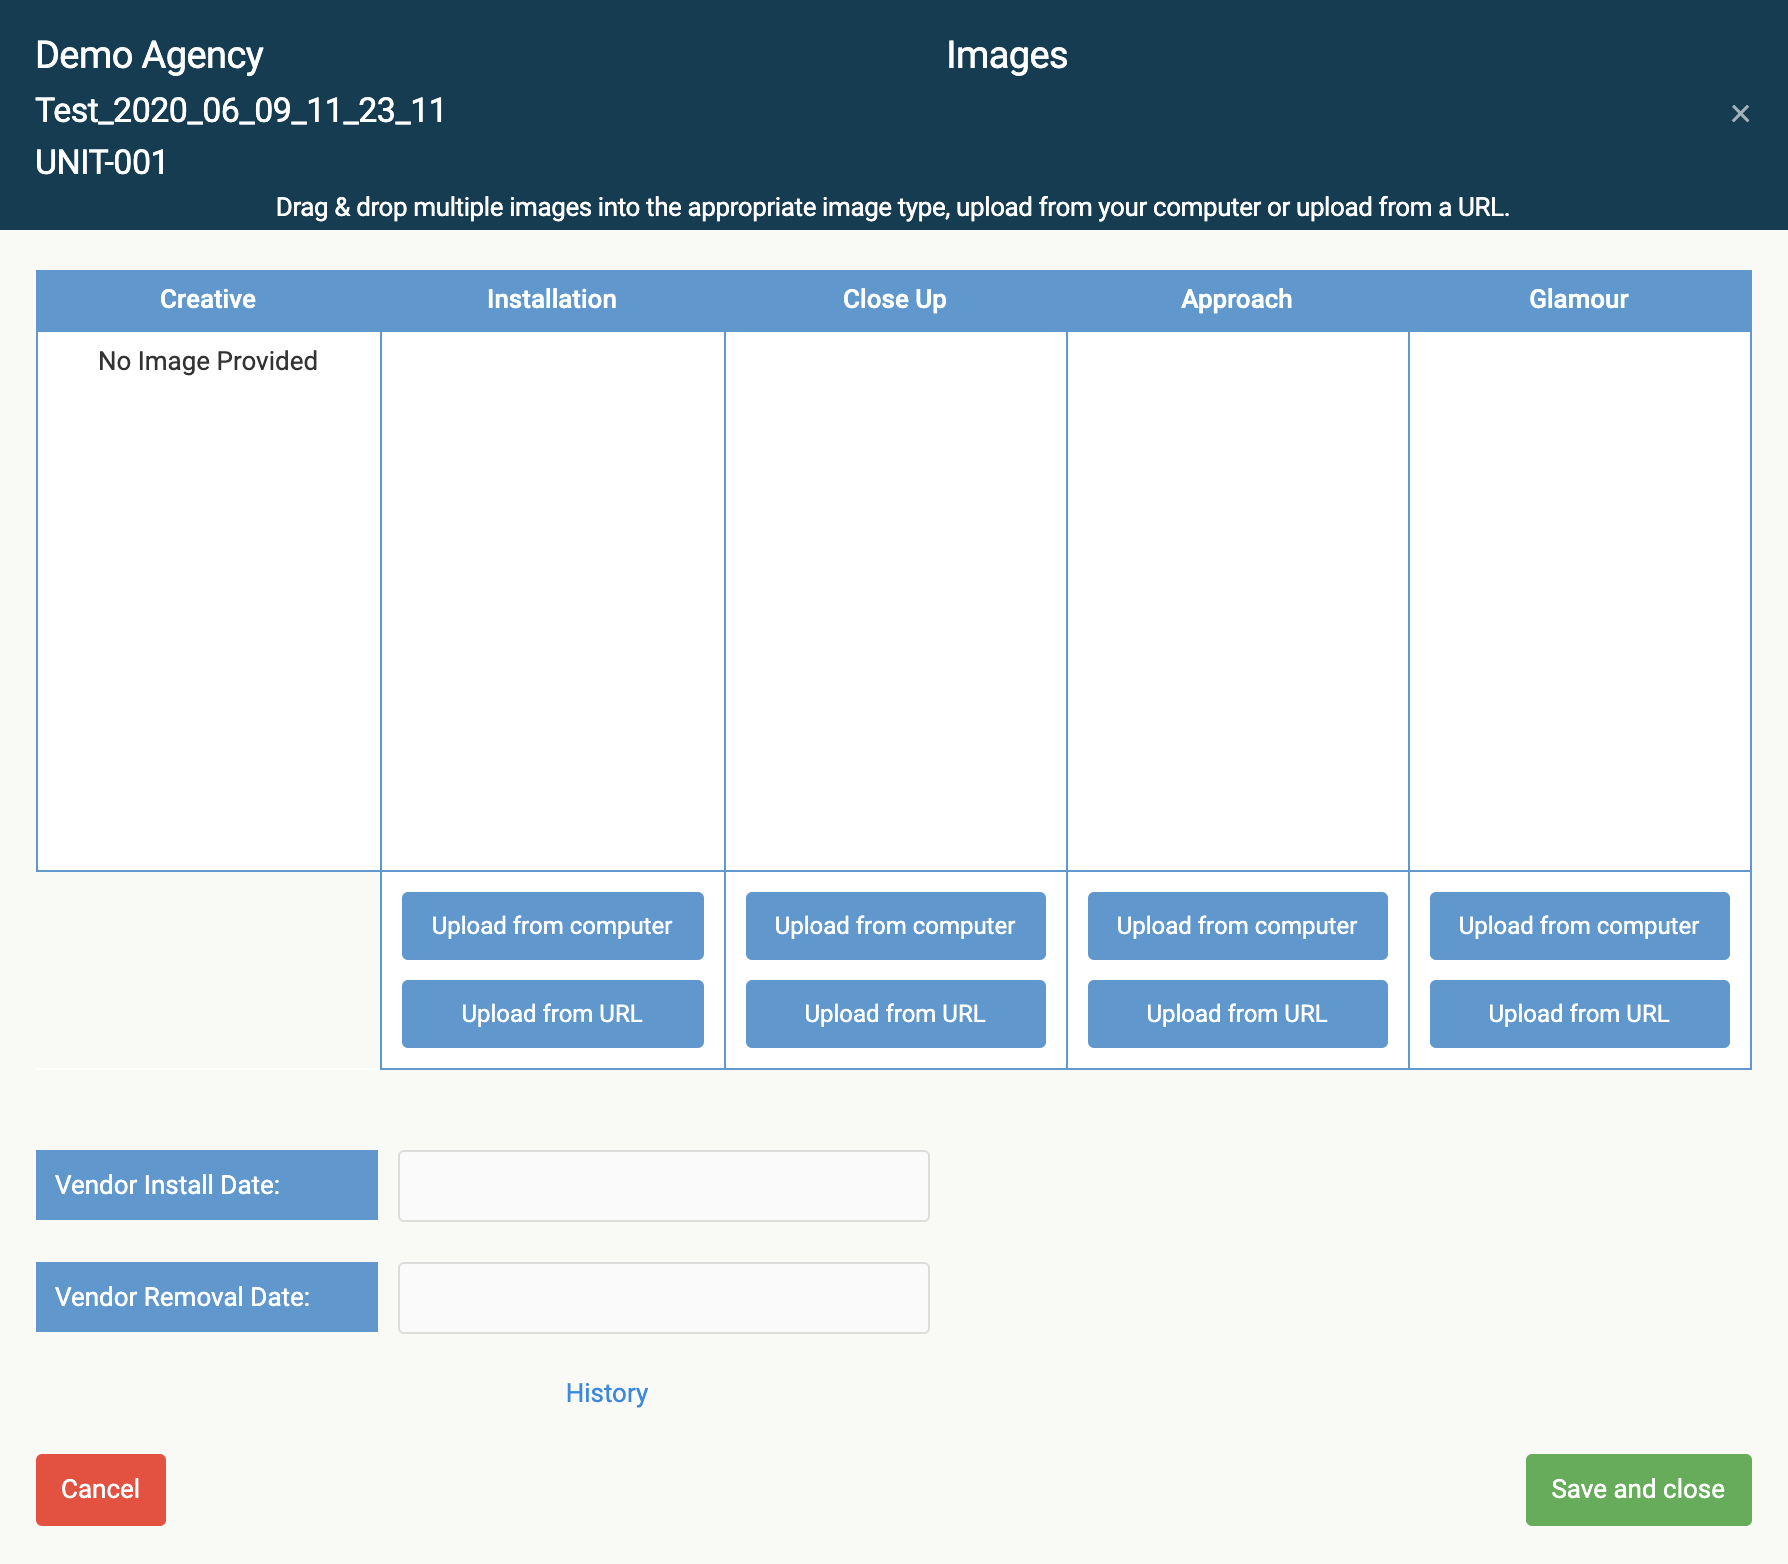
4. There are several ways to upload images to the system.
- Drag and Drop images into the appropriate column.
- Click on Upload from Computer and select your image.
- Click on Upload from URL if using that method.
Note: Creative images cannot be uploaded by Media Vendors.
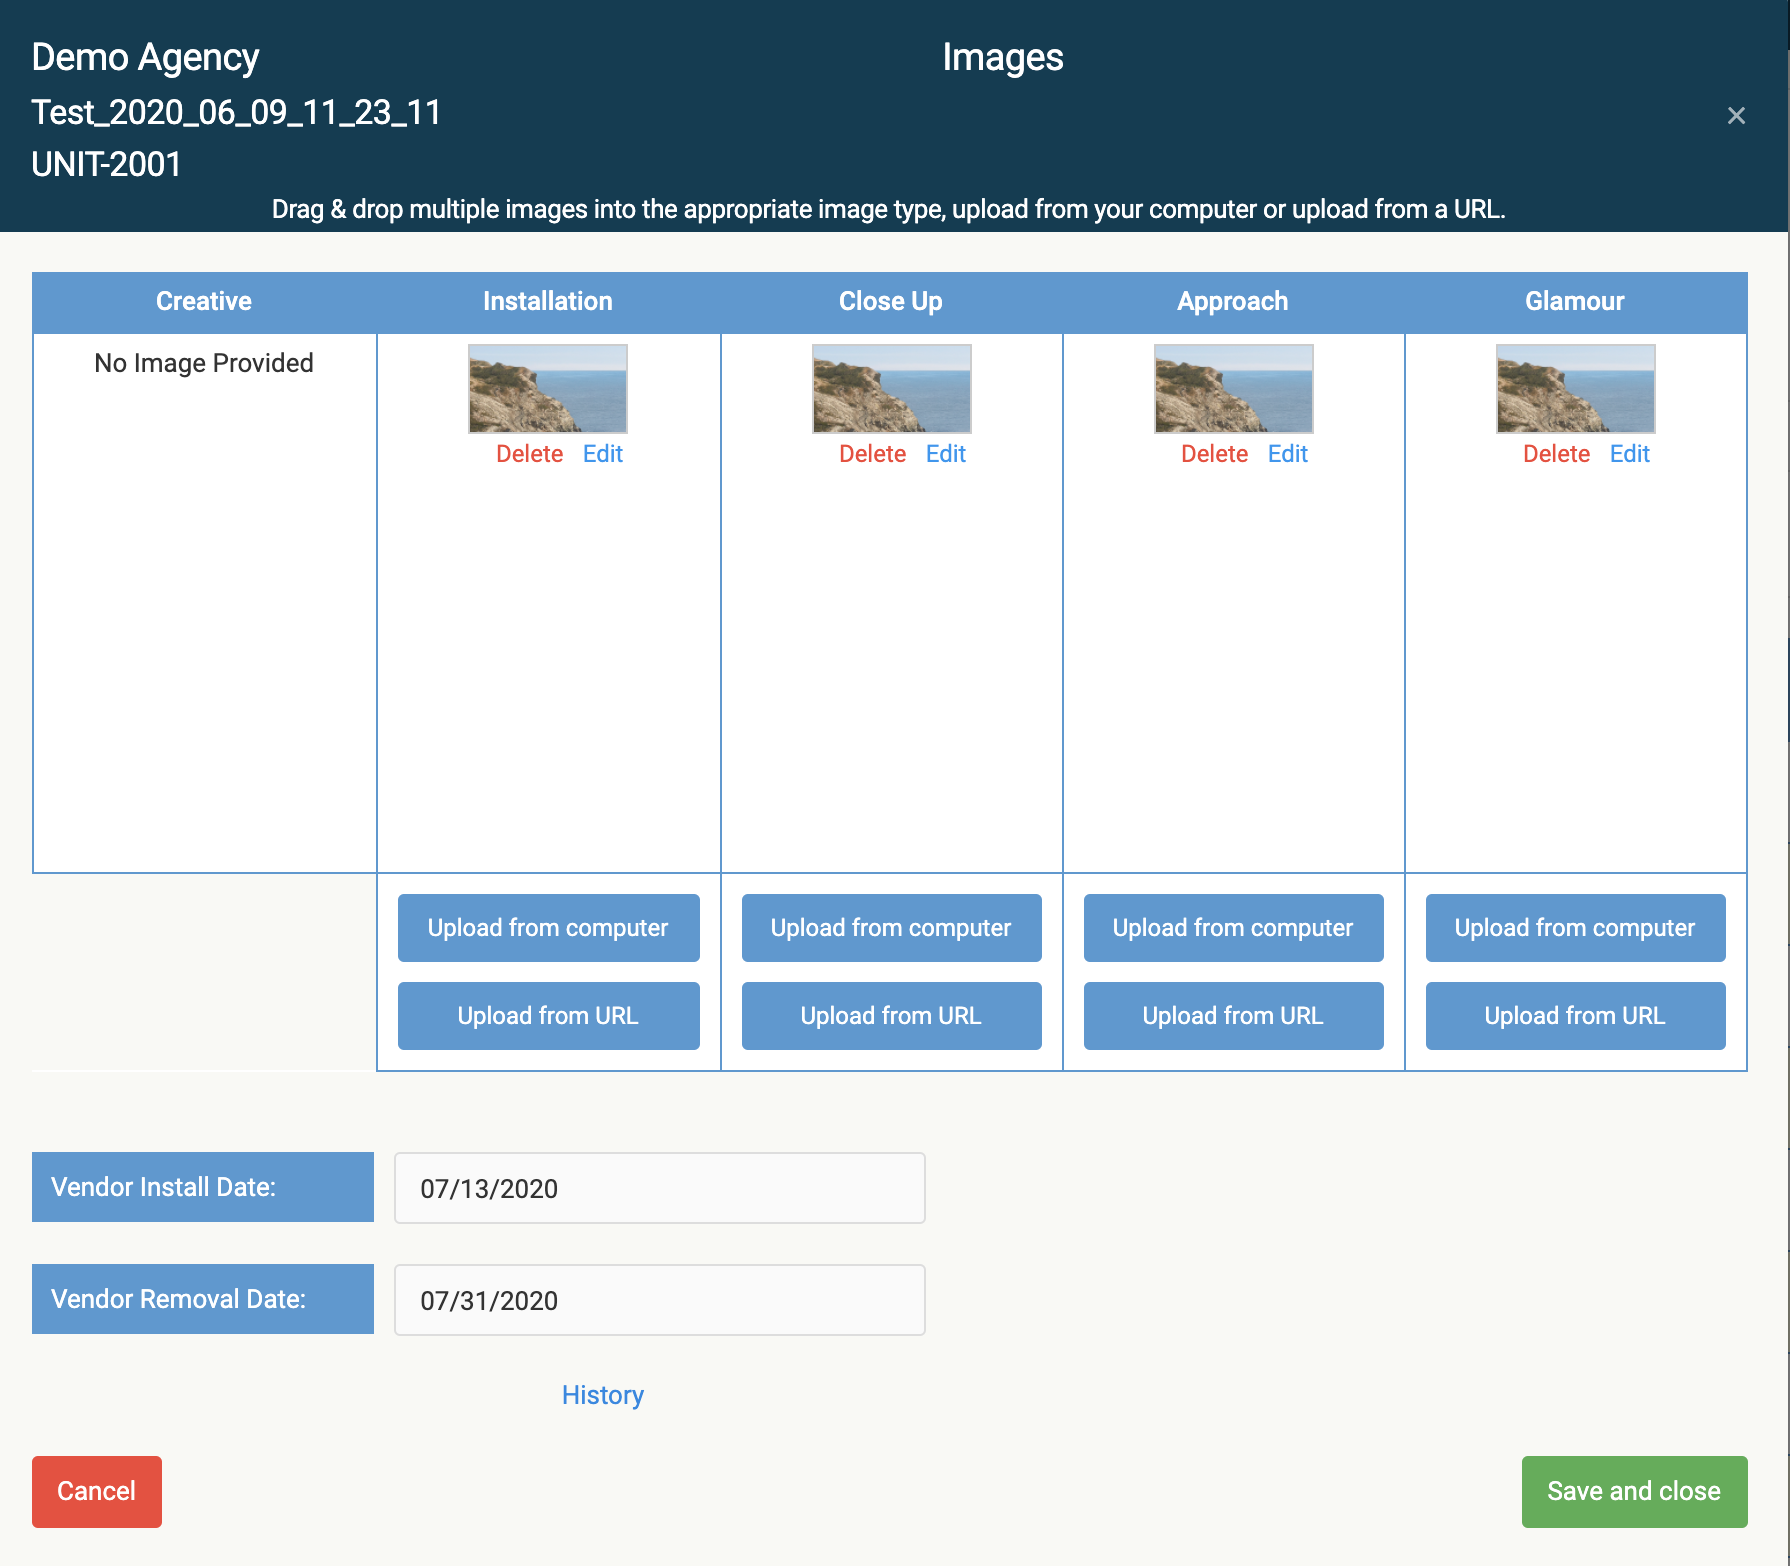
- When the images are uploaded you will see a layout similar to the screen below.
- Add the Vendor Install Date and/or Vendor Removal Date. You can also click on history to see when and who entered data for this unit.
- When complete, click on Save and Close.
5. You can now see units that have images, POP Install Dates, Vendor Install Dates and Removal Dates. In the Images column, when an icon is grey, there are no associated images. When the icon is blue, there is an image saved to it. Click on the blue icon to see the image.
