1. Open Campaign > Assign Creatives using one of the 3 methods below:
(c) Assign from Creative Library
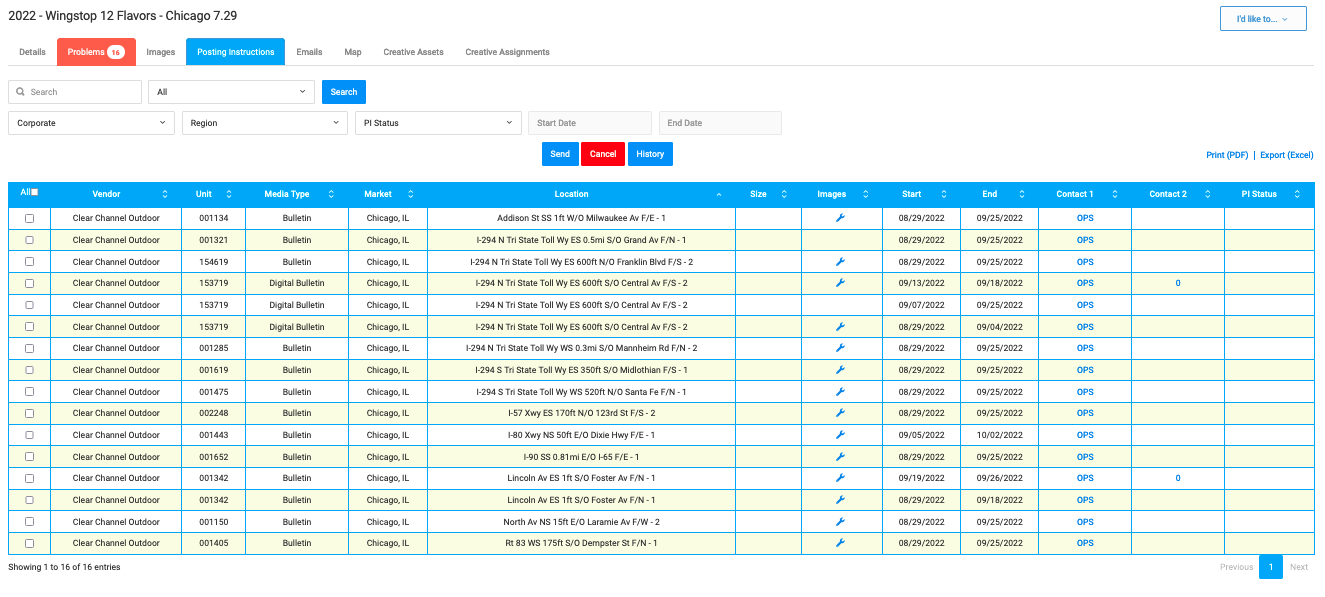
2. Access the Posting Instructions tab on the top menu bar. The images column will show each wrench icon available. We recommend having a creative image across every row but it is not a requirement.
3. Select the Displays to issue instructions and click Send
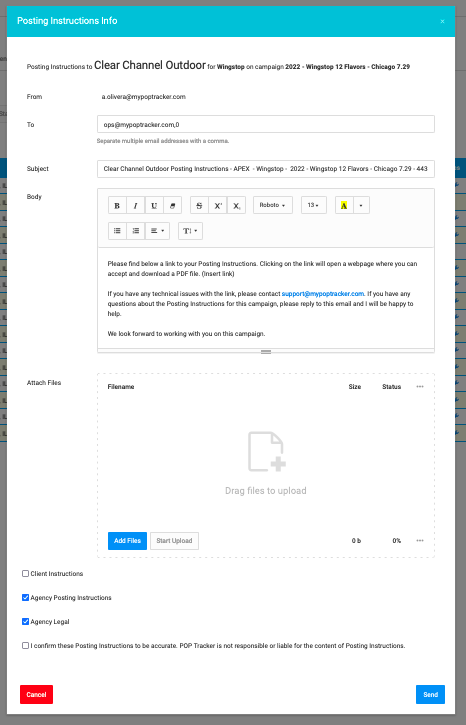
4. A pop up will appear for each vendor individually in alphabetical order. This will allow you to cater instructions for each vendor independently, meaning all data and email details to VendorA will not be sent to VendorB.
- fill in the pop up:
- From is the user who is YOU.
- To field is auto-filled with media vendor contacts 1 & 2. Feel free to remove / add email address
- Subject & Body: if desired, edit text.
- Attach up to 5 files (5MB in total).
- Client Instructions: this field allows you to include client specific instructions (See Posting Instructions Client Clause to set default)
- You must accept the conditions before being able to press Send
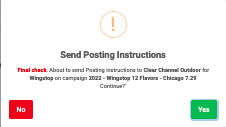
5. A secondary check screen will appear to provide final confirmation. Press Yes to continue.
6. When you refresh the Campaign Details screen, the PI Status column will be updated to Sent with a timestamp.
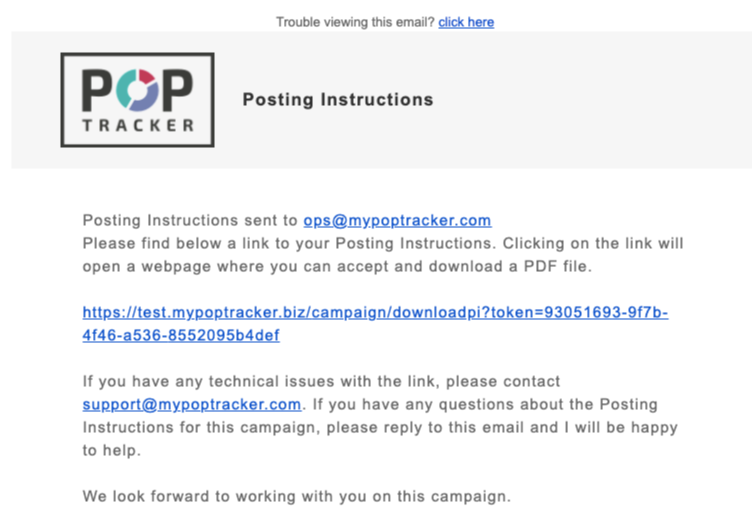
7. Each media vendor contact receives an email from YOU, meaning the email address associated with your login. All bounce back emails and replies will come directly to you in your standard email. The example below is the email received by the media vendor.
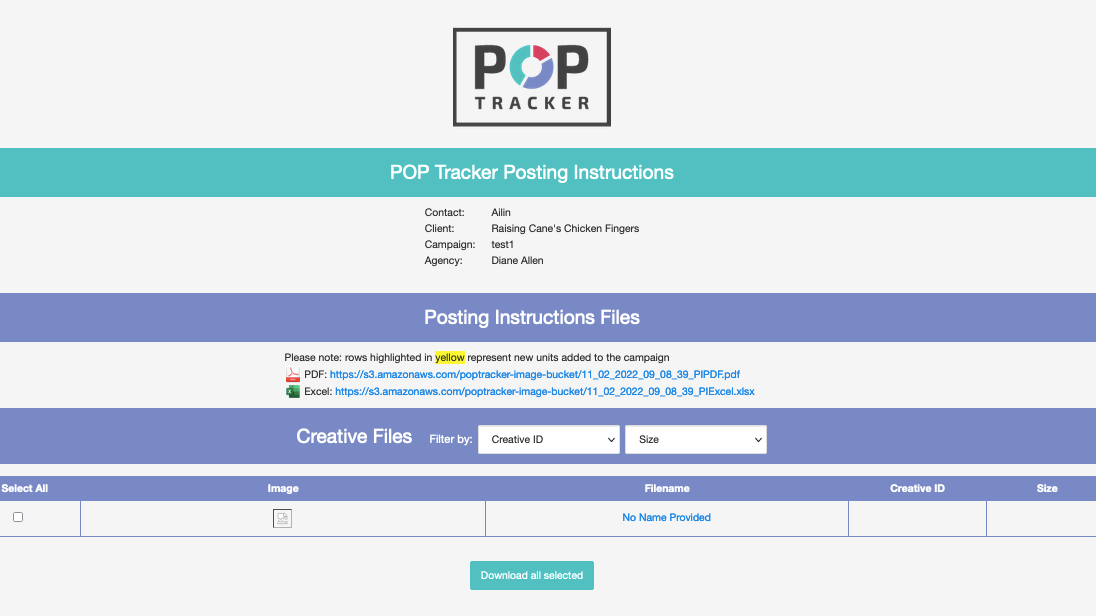
8. When the vendor clicks on the link, they are taken to a simple webpage confirming the Agency, Advertiser (client) and Campaign for these instructions. They must accept and check the box before being able to download.
9. The Campaign Details screen is now updated with the date the Media Vendor accepted and downloaded the PIs and the status is updated to Downloaded.
